About Me

My photo
Just an average master degree student, currently working on my thesis and doing make over in my spare time IF i'm not shopping LOL... I can be reach at imelda_husin@yahoo.co.id if you guys want me to review your products or sponsorship or simply wanna chat. Thank you...
Showing posts with label beauty tips. Show all posts

Saturday, March 10, 2012

Me and My Weekender Beauty Pouch

This is just a short post, warming up for the next upcoming post.

- Review of Lancome Teint Idole Ultra 24H Foundation - Bisque 7 N

- Haulage (Night Gown, H&M Bustier, 5 Tops, Pants, Wedges) Big Damage >.<

- Beauty Event From Revlon, Sneak Peak of their upcoming PhotoReady series that gonna launch mid year
- Beauty Class from @endi_feng

Now, back to topic. I wanna do this post, quite a long time already. But didn't got the chance (mostly forgot) to share this with you my dearest. We all love to travel, Yes? Do you got that problem, where you got too much stuff going on in your luggage, and end up with no SPACE at all for the haulage? :p I did, until i find the tricks (thanks to Youtube and fellow blogger and magazines) to minimize the items.

I'm the most laziest person i think when it comes to organizing stuff, you all saw my vanity right? Huh.. I don't even have time to re-arrange that after the last post. But when it comes to traveling, i seriously hate to bring lots of stuff. It's heavy and time consuming.

I prefer to take my time to organizing stuff before traveling rather than busy picking up stuff and end up putting it to my luggage, and in the end, i don't even use that during my traveling time.

Here's what i usually do :

  • Make a List, from apparel to vanity, to accesories (oversized bags, clutch, heels, flats, flip flops)
  • Take my time to pick up the clothes, so i know what to wear daily, and i always bring extra top and pants. the only thing that i find essential and seriously take lots space is underwear, i brought a lot of underwear every time i travel.
  • I bought everything on travel size for the toiletries.
  • For the make up section, i love this tips, i saw it somewhere on Youtube by Youtube beauty gurus, sadly i forgot, but you got my gratitude dear :) I put the foundation in 5ml jar and bring all the tester pack with me, save so many spaces. She put the foundation to contact lenses cases, for one or two day travelling (weekender), quite a tips huh? :) Same things goes with skincare thingy.
  • Rolling the clothes instead of folding it will save so many spaces.
  • Since i have gastric, i usually bring snacks with me, and if i travel overseas, i brought some Indonesian food (Abon), also instant noodles, with me, and energy bars.

I'm going to show you guys, what did i have in my beauty pouch while i'm away for weekend and in short (less than 3 days) holiday.


Top : Liquid eyeliner, Mascara, Eyebrow Pencil, Black Pencil Eyeliner, NYX Jumbo Pencil, TWC and sponge, Bronzer
The two small jar is EDM color corrector and the next is Lancome Teint Idole Ultra 24H Foundation
Bottom : Eyelash Curler, Dual Blending Brush, Slanted Eyeshadow Brush (for my eyebrows), Highlighter.

This EDM Color Corrector in Lavender is my life saver, because we usually didn't get enough sleep while we're on vacation or away on weekend, simply because we're too excited, or simply because we're having so much work to do. I just pat it with my finger under my eyes, and the tired looking eyes is gone :)
You guys noticed i didn't have my eyeshadow quad with me right? Because i simply don't wear too much make up while i'm away (except, i have to be away for job or party or event and if so i only added eyeshadow primer, eyeshadow quad and false lashes and the false lashes glue)

See you soon pretties, lots of love. 

Friday, March 2, 2012

Contouring Part 2 (ROUNDED Face) For Dummies, Like Me

Part one is about nose, click me

Time for requested post, lots of people been asking this question, including me! How to make us look slimmer without exercise? Well, that's impossible, simply impossible, but we can always CHEAT haha..
If your face is round like i used to be while i were xx kgs you'll start thinking every way possible to make you or at least your face look thinner/slimmer.
The answer is contouring face, it only takes few minutes and you can have those high cheek bone which makes your face look longer and thinner.

I AM NOT AN EXPERT, i learned from mistakes and LOTS of mistakes, and honestly i still DID some mistakes till now :D but i can share from my experience, i hope this is helpful for those fantabulous who requested.

How to contouring (ROUNDED) face.

I used to have rounded face, but now since i was slimmer a bit, my face change to a heart shape. So this may not be 100% accurate, i just wanna share the "how to".

Let's just get started, before you get bored and browse something else ^^

First, what you're gonna need is the products, concealer or foundation stick will do or 2-3 shade of foundation (Er.. getting confused? Relax.. i'll explained it all). I used my unbranded concealer palette, because i'm simply lazy to open my train case, and it contains lots of color corrector so it's a time saver.
Concealer : the plus to contour with concealer palette is time saver, also you can correcting (dark spot, etc) at the same time.
Foundation stick : beside it is also a time saver it's more easy to use, you don't need anything to put that on your face, but make sure you clean it after using, you know health reason.
Foundation : Needed more than one shade, first the lighter shade to highlight your face, and the darker shade to contour (the area that needed to be contoured is the same, but the application is a bit tricky, you have to apply it several times to get the perfect look). Simply says that you need practice to expert this.

Second, you're gonna need, make up sponge or brushes or simply finger, whatever you prefer. And whatever you decide to use, make sure it is hygienic.

Third, your face? To be contoured haha.... (trying to make a joke here >.<)

How to

After moisturizer or primer, then :
1. Take the concealer or foundation stick an apply it to Temple of your face, Under your Cheek Bone, And Jaw Line, and Nose.
2. Use your tools (sponge, brushes, finger) to blend.
Temple of your face : Blend it to your hair line
Under your cheek bone : Blend it upwards
Jaw Line : Blend it down to neck area

I personally like to contour my face before foundation or powder unless i have to perform on stage, WHY? Because if i do it after foundation, it tend to be so harsh and not looking natural.
You can use foundation first, and contour later of course, and make it looks smoother with powder.

See the arrow, is the area that need the contouring. Just choose the shade 1-2 tone darker than your actual skin.
DON'T FORGET the under eye area and the inner corner area, why? Because it help to open the eyes, and make your face freshen.

Result

With Flash

 No Flash
Product used :

Face :
Unbranded concealer palette
Cover Girl Foundation ( Buff beige and Classic Tan)

Cheek :
Cameleon blush palette

Eyes :
Aubeau eyeshadow base
Sephora Color Play 5 in 1
Evany Senses Mascara - Black

Lip :
Just Miss lipstick J-13

Tuesday, October 25, 2011

Really Beauty on Budget

For the money savers out there.

I got the question a lot, how to do make up with less budget. And i really need to practice again after 3 month didn't do any make up at all on me either on someone else. I decided to do this post, anyway my friends already remind me about my absence on blogging so here you go...

The tips that i got from my own experience that i hope can help you guys figure it out.
  1. Know your skin type and choose the right skin care, make up is easier to applied on healthy skin
  2. Choose carefully for the foundation and match the shade with your skin tone
  3. Choose the decorative products on neutral color, and add some bright color to your collection. ex : you can get a nice neutral brown eyeshadow quad and can get some pink, blue or black eyeshadow to add in your collection. You can experiment on the color, but neutral always is the best choice
  4. Get yourself a good primer for face and primer for eyes.
  5. And remember less is more, you don't have to put on everything on your face while doing make up, if you go bold on eyes make sure you make everything else is light. 
I got 2 models, meet Melinda and Melan. Melinda asked for make up that Korean and Japanese looks like and Melan asked for more lady rocker look but not too gothic. Both asked for easy 15 minutes make up (of course budgeted). 

Sari ayu 25th year Eyeshadow Palette
Marcks loose powder in creme
Revlon shine control
Inez liquid foundies
Pixy liquid eyeliner (black)
Red A lipstick (nude)
Evanysenses waterproof mascara
ELF eyelash curler
Some random brushes (Majelier and Masami Shouko)

Didn't read any blush on and eyebrow pencil? Yes, i didn't use any. I used the lipstick and applied it like i applied cream blush, with finger and blend it. For the eye brow i use dark chocolate eye shadow and brush to applied them.

Melinda


Melan

Only false lashes that missing in both of this look i think. If use false lashes the eyes will pop out.

Monday, May 23, 2011

Short Review on Biore 2 in 1 Cleansing Wash and The Other Function Of It

This is a new range of cleanser of this brand that currently invaded in local drugstore and groceries, for you ladies that lives abroad probably you are won't find this stuff interesting. But here in Indonesia, we got very severe skincare and make up brands, so this is a very exciting thing to post. Sadly i forgot how much i get this product, because it bought it with other stuff also. But it was probably around IDR 25-35 k.

Already lots of reviews that claim this is a good product to rinse off your make up and clean your face in one step, i'm not gonna review this product for it real function this time. And i found it more interesting if i did a full review of it as "my new routine of cleansing my brushes". My usual routine on cleansing brushes, you can read it here

How did i end up with that idea, is when i was so in a rush and my foundation brush was dirty and i couldn't find my HG brush cleanser from Make Up Tool, and my eyes caught this product sitting nicely on my vanity drawer, i grab it and rinse my foundation brush with this. Well... well.. it gives a nice result, so i decided to share it with you ladies. I really hope you will find this tips helpful.

My current favourite brushes is on the way to getting a bath
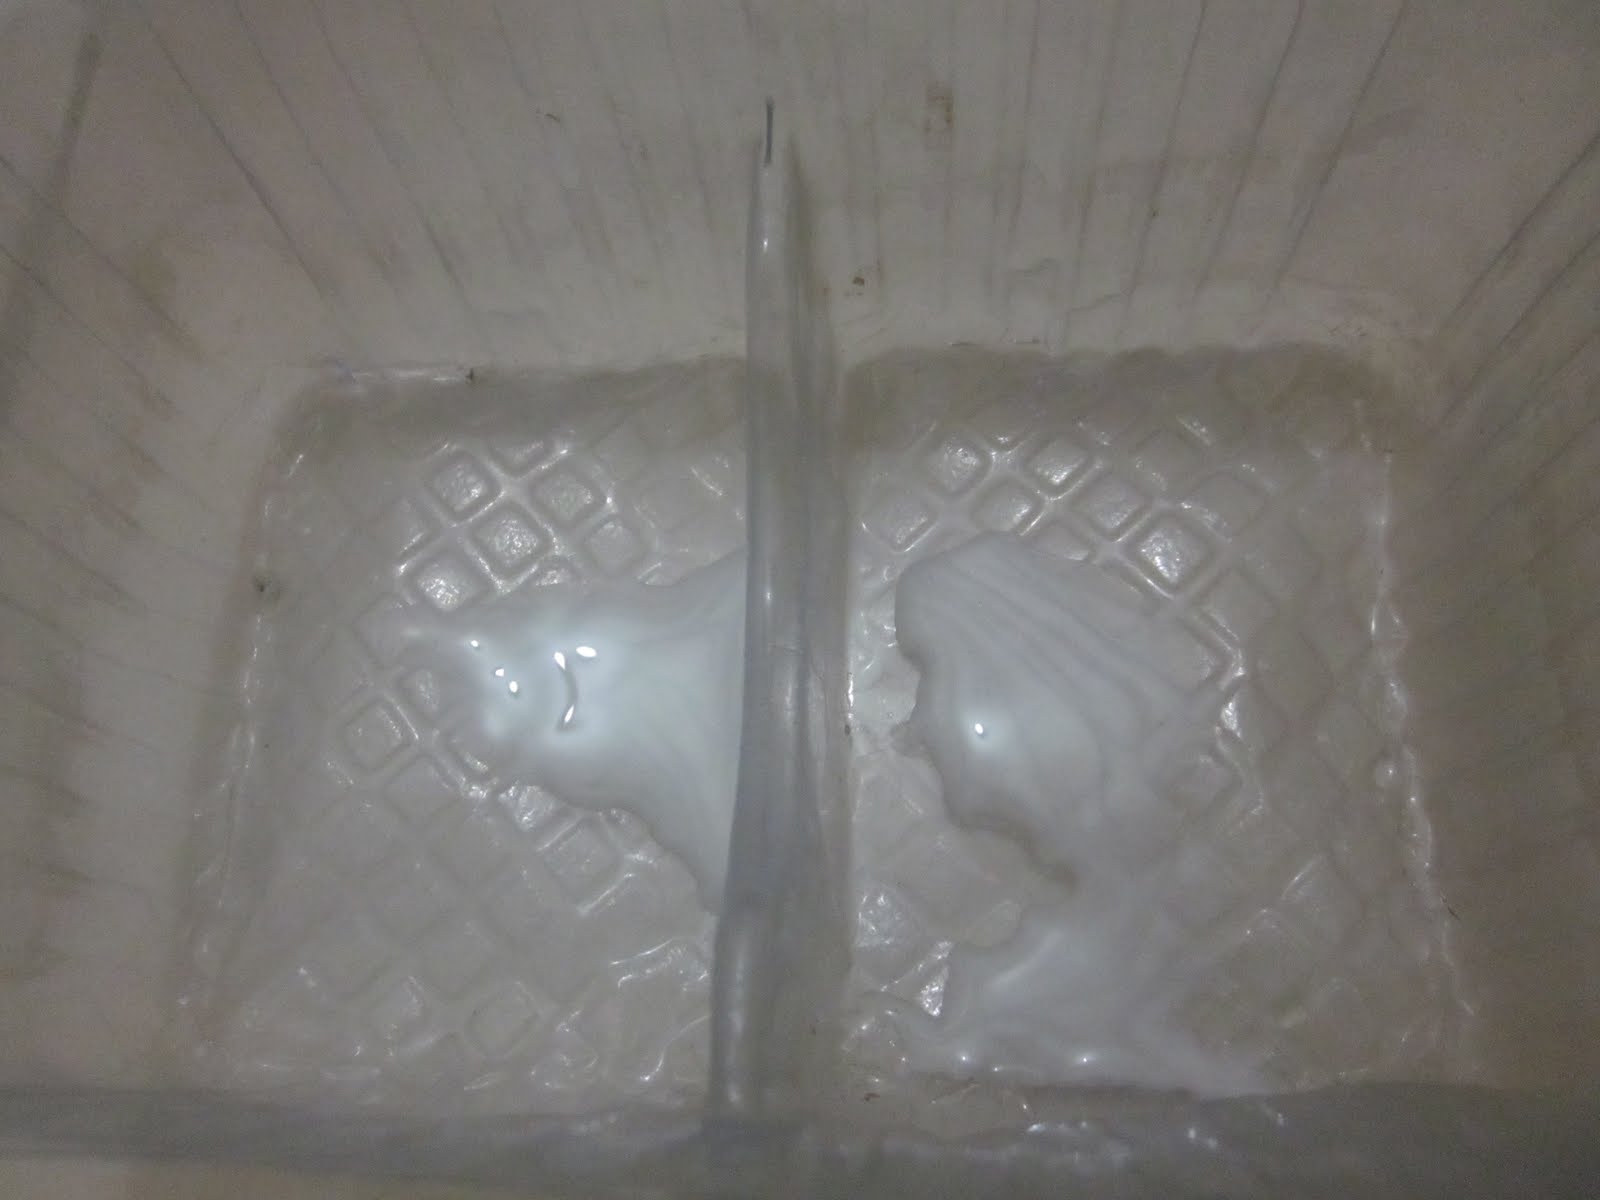
Put about one tea spoon of this Biore 2 in 1 Cleansing Wash on each side of the transparent box -which was originally my snack :D- 
Cleanse my brush on one side and rinse it with the other side of water, this is why i love this transparent box, i can clean and rinse my brushes on 2 in 1 way also.
sorry for the pic :D
I did this step repeatedly with all of the brushes, the separated water make sure i clean it and rinse off the excess of the dirt that may still there.

Can see the difference? Before and after and the second rinsing.
 After cleansing and rinse all of the brushes, i refill the transparent box with distilled water again and do the final rinse. If there's no stain left then the brushes is good and ready for drying. 
I really love this new way of cleaning my brushes, because it removes the dirt and the oil, some foundation give excess more sometimes it comes sort of oily. I might continue doing this, and will do other review on this cleanser as a face cleanser, wait it up dear ladies.

And thank you for keep reading. Love you a lot ^^

Monday, April 25, 2011

Cream Foundation that match with Indonesian's Woman Shade

In Indonesia, we got several of cosmetic's brands. What really make me fall in love is this brand Sariayu, the way they named their products. In my opinion really really appreciate Indonesian Heritage. They launced their new range of decorative and grooming products once a year, usually at the end of the year, with cute names taken from one culture or one area in Indonesia example the collection from 2010 is called "Senandung Rimba Sumatra" (Sumatra's Forest Voices, i think i got it translate wrong but that's the best i can come up with :D) comes in "Koleksi Toba" (Toba Lake -my hometown- the biggest vulcanic lake in the world) and "Koleksi Nias" (Nias is an island near Sumatra Island). They launched the 2011 collection already. You can check their website  here

Quote from their website says, " Sariayu is committed to natural total beauty care. Offering a wide range of products suitable to tropical climate and made of natural ingredients processed by modern technology for women who believe that external beauty is equally as important as internal beauty. Greatly inspired by Indonesian culture and tradition to provide external treatments to beautify the face and body, and nurturing supplements to assist beauty from within. With Sariayu products, you will experience the wonder of looking good outside & feeling great inside."
Source : www.sariayu.com

What i wanna review and talk about is their cream foundation... I got 3 shade of their cream foundation, like i said the way they named the shade of their cream foundation makes me fall in love. It made easier to define what shade to buy. They are kuning gading, kuning langsat, and sawo matang. One shade i didn't buy is kuning pengantin (yellow bride) is a yellow shade for traditional brides.
You guys probably not familiar with this shade and more familiar with NC/NW (Neutral Cool/ Neutral Warm) to differ the shade of foundation and powder.
From this website i finally define and got conclusion of what shade goes along for nc and nw in Indonesian Women skin tone. Warms are more peachy/pinky and Cools are more of a bluish/yellow.


Let's get into the swatches, so you guys can have better explanation.

in thick transparent jar
 when opened : top is kuning langsat, bottom left is kuning gading and bottom right is sawo matang
Kuning Langsat : Goes well for NC 25-30
Kuning Gading : Goes well for NW 20-25
Sawo Matang : Goes well for NC 35-37
Note : This is just my opinion by reading reviews and checking websites. If you find it helpful then i'm glad, if you can tell or inform me a better conclusion i will gladly review it again, thank you :)


Swatches (indoor and no flash)
in my hand : NC35-37
L-R : kuning  langsat, kuning gading, sawo matang

L-R : sawo matang, kuning langsat, kuning gading

same as above
My opinion
I did used this a lot for doing my clients and myself. And i love the texture, easy to blend (i usually wear this with wet sponge and just tap it on my face not by dragging it), for the combination skin it's doing the job well but on oily skin it probably need a better primer. I used this with primer (The Skin Food and Revlon). And set it with finishing spray or evian.


Check my FOTD using this cream foundation in sawo matang here
The foundation looks so dark, but if you blend it well it matches with your skin tone perfectly.

If you find the cream foundation or liquid foundation is darker than your skin tone after applied, you can set it with a lighter tone of compact powder or two way cake (whatever you prefer) and for the finishing don't forget to wear a loose powder ( it absorb the oil and set your powder and foundation to your skin).

Thursday, April 7, 2011

Quick and Easy Daily Make Up with a Twist ^^

 What's the twist..  well, i'll let the picture talks to you ^^
Natural Daily Look, bright color on the lid and add some extras in the outer v, mascara eye liner

using just this one brush
FOTD
Perfect for daily or office or school

After 5 going for coffe waiting for traffic jam to reduce? Or simply attending afternoon cocktail party with friends, just add drama with bolder lipstick
LIPSTICK
nude neutral colow

orangey?  
What did i used ?
Love to hear another tips from you ladies, keep fantabulous ^^


Tuesday, April 5, 2011

Throw Away Your Tubes?

Spend too many times squeezing your tubes, when it's almost finished? I did, until i read in some magazine this tips, how to deal with your almost empty tubes. I did it, and it works.
Let me share it to you ladies, hope it'll work for you too...
This one is my almost finish facial wash, i did it with any tube -moisturizer,foundation- work for almost every plastic tube.

I cut it into two pieces, with a scissors.
It still got a lot of cream inside. (I cut it almost 2 weeks, and still using it now.. can figure how many left inside after you cut the tube rite ladies)

 This is how i put them together again, empty one side first, then it's not gonna messed up the other side of tube. ( I like to empty the up tube first, with clean finger empty all the cream to the bottom tube, so the up tube is clean and not messing up while i put them together)

Trust me, when you cut the tube open you'll be surprised on how many the cream left ^^

Monday, March 21, 2011

Sometimes Fake Add More Drama - How I Wear Falsies

Well, since i got a big package of falsies from Make Up Tool and i forgot to take a proper pic from yesterday event so i decided to re-do the look. Well, not really exact the same, pretty much simpler than the other night but for the eyes, somehow i prefer today's look. You can see what type and how the falsies look like on this link
This is an answer for some of my friends that asking me about how to wear falsies. Actually, there's several ways to wear them, but this post is gonna be about my favourite way to wear falsies. And believe me ladies, i pretty much tried all of the tips. This is the easiest way for me, and i hope it'll work out just fine with you.

What you're gonna need : falsies *dooh :D*, eyelash glue, scissor, eyelash curler, eye liner (pen, gel, liquid -whatever you prefer)

 Let's start : 

Draw a black/ chocolate liner on your lash line, this step is making you easier to measure the falsies and know where to put them. Then curl your lashes, we don't want the falsies separated from the original lashes, it's gonna look awkward, yes?


Put some eyelash glue on the line -that we already draw-, this is gonna make your falsies stick longer because it's twice sticking power than when you put only glue on your falsies. Plus, while we put the glue on the falsies, it can dry up a bit so it'll be easier to put the falsies on.


Put some glue on the falsies -see picture below- and add extra to the outer/inner corner, because usually it get's off easily in the outer area.
PS : don't forget to cut your falsies to match she length of your eyes


Use a tweezer or your finger -whatever you prefer- to put the falsies on your lash line. I prefer stick them on the middle first, then i can easily stick the outer and inner corner area.


Make sure it put perfectly on the lash line, and this is the technique i usually use, add some glue -just thin- to put together your falsies and your original falsies. Don't over-do it because it will be hard to take the falsies off after.
left -with falsies : right - no falsies


That pretty much it, if you have any question please don't hesitate to ask, or simply drop a comment. Thank you ladies, remember practice makes perfect ^^


Now on to review, i already linked the look and where'd i get the falsies up on this post. And i think, even tho the falsies look so thin and the lashes is not too crowded, but it did the job well on my eyes. Because i already have thick and long lashes so this one adding up drama on my eyes without making it too much. For party wear and daily wear this is amazing.

But for some, maybe this falsies a bit too ordinary, because some people have thinner and shorter lashes. But i got the trick, double it up, and voila.. you are ready sista :)

What i love about this falsies :
* The band made of thread, which is easier to bend
* Can be worn more than once since the bend is easy to clean up the stain of the glue
* Easy to pull from the box, if i buy individual lashes, it kinda hard to pull from it's packaging and sometimes it RUINED the shape of the falsies. But not with this one :)
* Didn't take much space to store, individual lashes take many space on my traincase.

What i not too fancy about this falsies :
I love the texture and everything, it's just i prefer my falsies have a very long look on the outer corner but this one is not really. it comes on a round shape, and if i want it to look longer on the outer corner i have to do the cutting very carefully. Other than that, i love this falsies.

I probabbly will get myself another shape of this brand, hm... later maybe, after my traincase and my brushes arrived *wink*

EOTD and FOTD using this falsies


Face :
Maybelline bb cream
Fanbo TWC in Sawo Matang (this is probably a comparison shade between NC35-NC40)

Cheek :
ELF all over color stick in pink lemonade just tap it

Lips :
Wardah exclusice palette shade 33

Eyes :
ELF all over cover stick in apricot beige as base
CS 88 palette - in bright yellow for lid and taupe for crease
PIXY liquid eye liner in black
Evanysenses waterproof mascara - uses in both upper and lower lash line
NYX eye brow pencil in brown

Tools :
Pink  Powder brush  in circular motion to apply TWC - also included on the link up above how this brush look like-
Big angeled brush to blend the cheek - unbranded

Friday, March 18, 2011

Beauty Comes from Within

Dear Ladies,

  • Did you throw away your garbage to trash bin?
  • Did you let people that come out from the elevator first before you enter inside?
  • Did you say "please" and "thank you"?
  • Did you queue?
  • Did you use public restroom properly?
  • Did you give your seat to pregnant lady and elder in public transport?
Sounds like little things, but honestly.. have we been doing all of that everyday in our life? Sometime we're in a rush that we have to cut the queue line, or simply forget to say thanks after someone get us something done.. IT's normal, really. No judgement here... only a simple reminder, because i'm still trying to do the RIGHT THING also :)

I think the saying, " Start from youself, Start from Little things, and Start NOW" is really a good reminder for all of us. At least to let us become a better person for ourselves.  Don't try too hard tho' because change can't and impossible to be happen on one day. Take your time and just be a better you.

Why suddenly this post? Because it's not beauty products that make you beautiful, it's Attitude. Are you gonna still look fabulous and stunning with your killer heels, fancy dress, expensive handbags if you cut the line? If you let people queue longer than they should have at the register because you are busy re-arrange the stuff you had in your kate spade wallet and LV's Speedy Bag? I don't think so dear ladies... Simple stuff right? But it defines someone's attitude, remember we're valued by the way we act, and the way we treat our subordinate :)

Keep fabulous ladies, and attitude please *wink*

Wednesday, March 9, 2011

Highlight and Contouring / Shading Part 1 (Nose)

Answering request from my fellow FD member, how to highlight and contouring face today i'm gonna post about how i did mine.
I figure, it's gonna be confusing if i did how to contour my face in one post, so i'm gonna separate the explanation in different post, this post gonna be the easiest one. How to highlight and contour your nose. 
Basically contouring is depends on your type of face, so it can be different application on every one, but the technique is the same.

I prefer highlight, why?
  1. To save time, i don't like spending too much on my make up. Because the longer i stand in front of my mirror, the more products will be applied to my face haha... can't stand those cute and pretty tubes. 
  2. It's more natural because there wont be like, dark shade all over your face which in some case (like me, when i first learn how to contour my face, it didn't blend well)
  3. You don't have to own like more products, just one single creamy foundation or concealer will do, save your money right?
Let's get started, it's kinda long (lots pics, you guys have been warned :D)
my bare face (ciel mineral light foundation, nyc bronzer, sari ayu duo mascara and eyeliner)
HIGHLIGHT
ELF All Over Cover Stick in Apricot Beige
I used this a lot, because i love the texture. It blends well also, and light for travelling :)

Swipe a bit on your finger, just like this
Put it on your nose, stop where my finger end. You don't wanna drag it too long because it will be too much.
Blend with brush if you have one, if you don't finger will do best :)
Note :
I used cream foundation also like PAC creamy foundation shade no.2 to highlight my nose. The tips is used one shade that lighter than your skintone or your foundation, that's why concealer also will work to contour your nose (face).
Powdery stuff like eyeshadow also will do,but the staying power will less more than if you used creamy foundation or liquid concealer unless you applied foundation or bb cream before doing highlighting with powdery stuff. If i used powdery stuff, i used revlon eyeshadow duo in chocolate. The dark color match my skintone well.

CONTOURING

ELF All Over Cover Stick in Toffee
Swipe a bit on your finger, like when doing highlighting
Swatch it with your other finger to get the warmth so it'll become easier to blend
It should look like this
Then just tapped it on your nose gently, don't, I REPEATED don't dragged it. Just slowly tap it on your nose from lower to upper near eyebrow
Don't forget to blend it to outer corner of the nose near the cheek
HERE'S THE FINAL LOOK ^^
I did both step, to show you guys basically how the highlight and contouring should be applied. Hope it helps, and please do share your opinion, if you guys have a better step to do it, i'll be more than happy to learn new tips.

Stay fabulous ladies, ciaoo...